
Of course. As an SEO expert, I will create a unique, engaging, and SEO-optimized article based on your instructions. The content will be structured for readability and search engine visibility, adhering to the latest best practices.
—
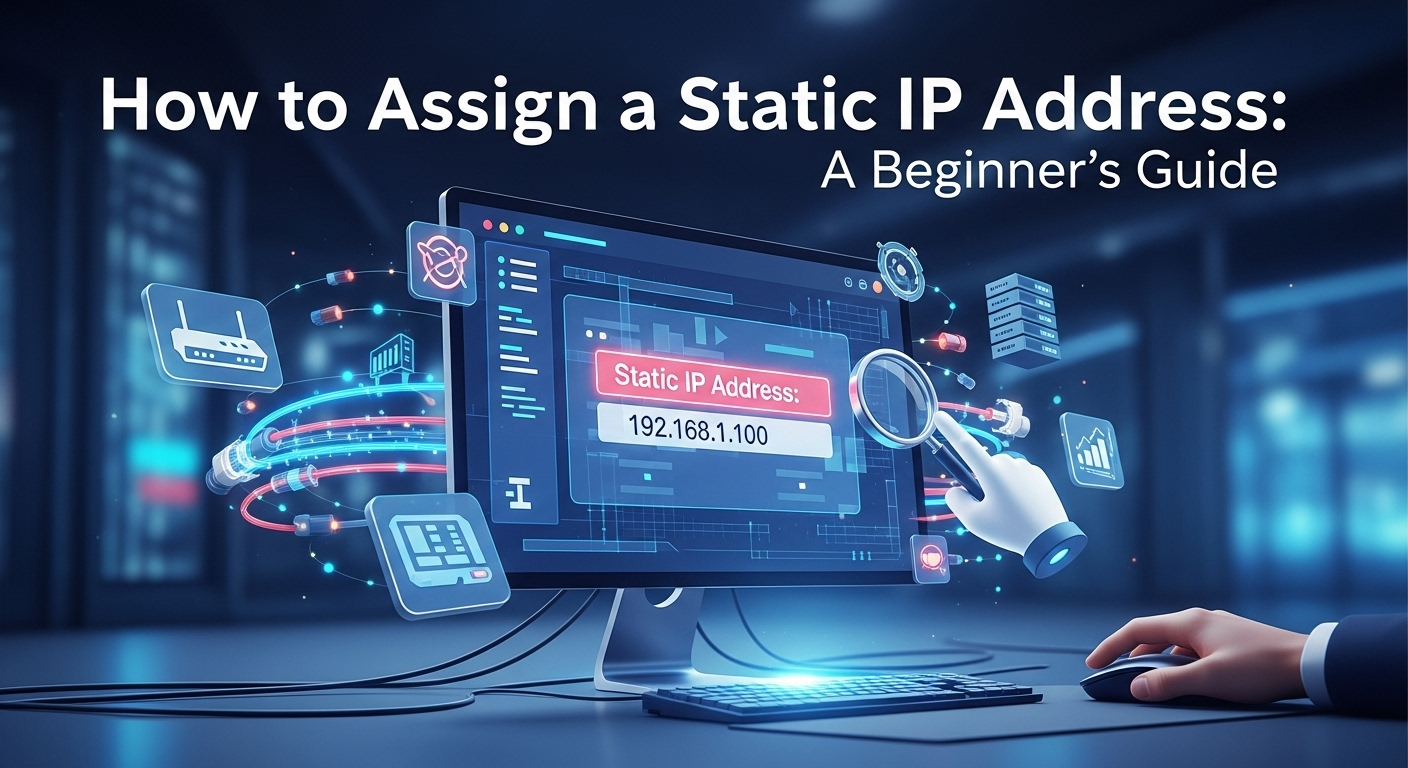
Navigating the world of home and office networking can sometimes feel like learning a new language. You hear terms like IP address, DHCP, and router, and it’s easy to feel overwhelmed. However, understanding these components is the key to unlocking a more stable and reliable internet experience for specific tasks. While most devices work perfectly fine with a changing address, there are many situations where a fixed, unchanging address is crucial. This guide is designed to demystify one of the most useful networking tasks for a power user: learning how to assign a static IP address. We will walk you through the what, why, and how, ensuring you can confidently manage your own network devices.
Understanding IP Addresses: Dynamic vs. Static
Before diving into the “how,” it’s essential to grasp the fundamental concept of an IP (Internet Protocol) address and the two primary types you’ll encounter. Think of an IP address as a unique mailing address for a device on a network. Just as your home has a specific address so mail can find you, every device connected to the internet—your computer, smartphone, smart TV, or gaming console—needs an IP address to send and receive data correctly. Without it, your router and the wider internet would have no idea where to send the website data you requested or the stream for the movie you’re watching. These addresses are the bedrock of all internet communication.
Most devices on your home network use a dynamic IP address. This is the default for a reason: it’s incredibly efficient and hands-off. Your router runs a service called DHCP (Dynamic Host Configuration Protocol), which acts like a friendly hotel concierge. When a new device connects to your Wi-Fi, it asks the router for an IP address. The DHCP server looks at its list of available addresses and “leases” one to the device for a certain period. When the lease expires or the device disconnects, that address is returned to the pool for another device to use. This system is perfect for guest devices and personal gadgets because it requires zero configuration from the user.
In contrast, a static IP address is a fixed, permanent address that you manually assign to a device. It doesn’t change. Going back to our analogy, it’s like owning a house at a specific address rather than staying in different hotel rooms. You are telling your network, “This specific device—be it a server, a printer, or a security camera—will always be found at this exact address.” This method requires a one-time manual setup, but it provides a level of predictability and reliability that dynamic addresses can’t guarantee. This stability is the primary reason why someone would choose to set up a static IP for certain devices on their local network.
Why Would You Need a Static IP Address?
The convenience of dynamic IPs is undeniable for everyday browsing, but their changing nature can create significant problems for certain applications. If you have a device or service that other devices need to connect to consistently, having its address change unexpectedly can break the connection. Imagine trying to send a package to a friend whose home address changes every few days; you would constantly have to look up their new location. A static IP address eliminates this issue by providing a permanent, reliable point of contact on your network.
The most common use case is for hosting any type of server. If you run a file server to store and share documents across your home, a Plex media server to stream your movie collection, or a game server for you and your friends to play on, you need a static IP. When you configure other computers to access that server, you point them to its IP address. If that address changes, the connection is lost until you reconfigure everything with the new one. A static IP ensures your server is always accessible at the same address, providing seamless and uninterrupted service.
Beyond servers, several other scenarios benefit greatly from a static IP.
- Network Printers: If multiple people in an office or home connect to a single printer, a static IP prevents the connection from breaking.
- Remote Access: For accessing security cameras, a smart home hub, or your desktop computer remotely, a static IP ensures you can always find and connect to the device from anywhere in the world (with proper configuration like port forwarding).
- Port Forwarding: Many online games and applications require you to forward specific network ports on your router to a device. This process works far more reliably when the device’s internal IP address is static.
- Troubleshooting: When diagnosing network issues, having devices with fixed addresses can make it much easier to identify which device is causing problems.
Preparing to Assign a Static IP Address
Before you can assign a static IP, you need to do a bit of reconnaissance on your own network. Simply picking a random number won’t work and will likely cause an “IP conflict,” where two devices try to use the same address, resulting in neither being able to connect properly. Preparation involves two key steps: gathering your current network information and intelligently choosing an available IP address that won’t interfere with your router’s automatic assignments.
This preparatory phase is the most critical part of the process. Having the correct information on hand before you start changing settings will make the entire process smooth and error-free. You will need to find four key pieces of information: your current IP address (to know the format), the Subnet Mask, the Default Gateway (your router’s address), and the DNS Servers your network uses. All of this can be found with a simple command.
Finding Your Current Network Information
The easiest way to get all the necessary details is by using your computer’s command-line interface. Don’t be intimidated; it’s a simple, one-line command. This will give you a complete picture of your network’s current configuration, which you will manually replicate, changing only the IP address itself.
On a Windows PC, open the Command Prompt (search for “cmd” in the Start Menu) and type the command `ipconfig /all`, then press Enter. Look for the network adapter you are using (e.g., “Wireless LAN adapter Wi-Fi” or “Ethernet adapter Ethernet”). On a Mac, open the Terminal app (found in Applications > Utilities) and type `ifconfig` or go to System Settings > Network > [Your Connection] > Details. You need to write down the following values:
- IPv4 Address: This is your device's current address (e.g., 192.168.1.120).
- Subnet Mask: This usually looks like 255.255.255.0.
- Default Gateway: This is the IP address of your router (e.g., 192.168.1.1).
<strong>DNS Servers:</strong> There might be one or two addresses listed here. These translate website names (likegoogle.com*) into IP addresses.
Choosing a Safe Static IP Address
Now that you have your network’s information, you need to choose the new static IP for your device. You cannot simply reuse your current IP address, because it was assigned dynamically and might be given to another device later. The key is to pick an address that is on the same network but outside the range of addresses that your router’s DHCP server is set to hand out automatically. For most home routers, this range might be from `192.168.1.100` to `192.168.1.254`.
To be safe, you should log in to your router’s administration panel to check its DHCP range. You can do this by typing your Default Gateway address into your web browser. Look for a section named “LAN Setup,” “Local Network,” or “DHCP Server.” There, you will see the “Start IP Address” and “End IP Address.” You must choose an IP address that is not within that range. For example, if your router’s gateway is `192.168.1.1` and its DHCP range is `192.168.1.100` to `192.168.1.200`, a good, safe choice for a static IP would be `192.168.1.50`. This ensures the router will never try to assign this address to another device, preventing conflicts.
How to Assign a Static IP Address on Windows (11/10)
Assigning a static IP on a Windows machine is a straightforward process through the Settings menu. Once you have your chosen static IP and the network information you collected, you are ready to make the change. This process essentially tells your computer to stop asking the router for an IP address and to use the one you provide instead. The steps are nearly identical for both Windows 10 and Windows 11.
Before proceeding, make sure you have your notes handy with the following information: the new Static IP you chose, the Subnet Mask, the Default Gateway, and the DNS Server addresses. Entering any of these incorrectly will result in a loss of internet connectivity, so double-check your numbers. The process is completely reversible, so if you make a mistake, you can always switch it back to automatic (DHCP) to restore your connection and try again.
Step-by-Step Guide for Windows
The modern Windows interface makes this task simpler than ever before. You don’t need to dig through the old Control Panel anymore; it’s all accessible from the main Settings app.
- Open Settings: Right-click the Start button and select “Settings.”
- Go to Network & Internet: In the left-hand pane, click on “Network & internet.”
- Select Your Connection: Choose the way you are connected to the network. Click on “Wi-Fi” if you’re on wireless or “Ethernet” if you’re using a cable.
- Access Hardware Properties: Click on “Hardware properties” for your current connection.
- Edit IP Assignment: Look for the “IP assignment” setting, which will likely show “Automatic (DHCP).” Click the “Edit” button next to it.
- Switch to Manual: In the dialog box that appears, click the dropdown menu and change it from “Automatic (DHCP)” to “Manual.”
- Enter Your Network Details: A new set of fields will appear.
- Turn on the toggle for IPv4.
- In the IP address field, type the new static IP you chose (e.g., `192.168.1.50`).
- In the Subnet mask field, type the value you wrote down (e.g., `255.255.255.0`).
- In the Gateway field, type your router’s address (e.g., `192.168.1.1`).
- In the Preferred DNS and Alternate DNS fields, enter the DNS server addresses you found. You can use the ones from your ISP or popular public ones like Google’s (`8.8.8.8`, `8.8.4.4`) or Cloudflare’s (`1.1.1.1`).
- Save Your Changes: Click the “Save” button. Your network connection will briefly disconnect and reconnect.
Verification and Troubleshooting
After saving the settings, you need to verify that everything is working correctly. The simplest way is to open a web browser and try to visit a few websites. If they load, you have successfully configured your static IP address. You can also open the Command Prompt again and type `ping google.com`. If you get replies, your connection to the internet is active.
If you don’t have an internet connection, don’t panic. The most common cause is a simple typo. Go back through the settings and carefully re-check every number you entered. Is the IP address correct? Did you mistype the gateway or subnet mask? A single wrong digit can break the connection. If you’re certain the numbers are correct, the issue might be an IP conflict. Try choosing a different static IP address (e.g., if you chose `.50`, try `.51`) and see if that resolves the issue. As a last resort, you can always go back to the IP assignment settings and switch it back to “Automatic (DHCP)” to get back online.
An Alternative Method: DHCP Reservation
While setting a static IP on the device itself works perfectly well, there is another, often superior, method called DHCP Reservation. Instead of telling the device to use a fixed IP, you tell the router to always give the same IP to a specific device. The router identifies the device by its unique MAC (Media Access Control) address, which is a permanent hardware identifier, and reserves an IP address from its dynamic pool exclusively for that device.
This method combines the best of both worlds. The device itself can be left in its default “Automatic (DHCP)” mode, making setup a breeze. Meanwhile, you get the benefit of a fixed, predictable IP address managed centrally from your router. This is especially useful if you want to set static IPs for devices where it’s difficult to configure network settings, like some smart TVs or IoT gadgets. It also prevents you from having to reconfigure the device if you ever move it to a different network.
To set up a DHCP reservation, you need two things: the MAC address of the device and access to your router’s admin panel.
- Find the MAC Address: You can find this in the same place you found your IP information. In Windows, listed as Physical Address in the `ipconfig /all` output. On most devices, is found in the network or About settings.
- Log in to Your Router: Open a web browser and enter your routers IP address (the Default Gateway).
- Find the DHCP Reservation Section: This feature might be called DHCP Reservation,Static DHCP,Address Reservation,or Static Lease. usually under the LAN or DHCP settings.
- Create the Reservation: You will typically see a list of currently connected devices. You can often just select your device from the list and assign it an IP, or manually enter the MAC address and the IP address you want to reserve for it.
- Save and Reboot: Save the settings. Some routers may require a reboot for the change to take effect. The device will then be assigned that reserved IP every time it connects.
Comparison of Methods
| Feature | Static IP on Device | DHCP Reservation on Router |
|---|---|---|
| How it Works | Device is manually configured to use a specific IP, ignoring the router’s DHCP. | Router is configured to always assign the same IP to a specific device’s MAC address. |
| Best For | Devices that rarely move networks; situations where router access is unavailable. | Managing multiple devices centrally; devices that are hard to configure (e.g., IoT). |
| Pros | No router access needed. The IP is fixed regardless of the network (if configured). | Centralized management. No changes needed on the device. Prevents IP conflicts. |
| Cons | Must be reconfigured if the network changes. Risk of manual error and IP conflicts. | Requires access to the router’s admin panel. Setup varies by router model. |
—
Frequently Asked Questions (FAQ)
Q: Is a static IP address less secure than a dynamic one?
A: Potentially, yes. A static IP provides a fixed, unchanging target for anyone trying to gain unauthorized access to your network. However, this risk is minimal on a local network and can be mitigated with a good firewall and strong security practices. For a public static IP from your ISP, security becomes a more significant concern.
Q: Can I get a static IP from my Internet Service Provider (ISP)?
A: Yes, but it’s important to distinguish between a local static IP (which we’ve discussed) and a public static IP. The address your ISP assigns to your router for connecting to the internet is your public IP. Most residential plans provide a dynamic public IP. You can often request a public static IP from your ISP, but it usually comes with an additional monthly fee and is more common for business accounts.
Q: What happens if I choose an IP address that already in use?
A: This creates an “IP address conflict.” When two devices on the same network have the same IP address, the router gets confused and can’t direct traffic correctly. Typically, one or both of the conflicting devices will lose their network connection or experience intermittent connectivity issues. This is why it’s crucial to choose an IP outside the router’s DHCP range.
Q: Do I need a static IP for online gaming?
A: For simply playing most online games, you do not need a static IP. A dynamic IP works perfectly fine. However, you might need one if you want to host a dedicated game server for others to connect to. It’s also sometimes helpful for resolving strict NAT (Network Address Translation) type issues, as it makes port forwarding rules more reliable.
Conclusion
Mastering how to assign a static IP address is a valuable skill that moves you from being a passive internet user to an active manager of your own network. While dynamic IPs are perfectly suited for the majority of our daily devices, the stability and reliability of a static IP are indispensable for servers, network printers, remote access, and advanced networking tasks. Whether you choose to configure the address directly on the device or use the more flexible DHCP reservation method on your router, a static IP ensures that your most important devices are always exactly where you expect them to be on the network. With the steps outlined in this guide, you now have the knowledge to create a more robust, predictable, and powerful home or office network.
—
<h3>Summary</h3>
This guide, “How to Assign a Static IP Address: A Beginner’s Guide,” serves as a comprehensive walkthrough for users looking to create a stable network environment for specific devices. It begins by explaining the fundamental difference between a dynamic IP address, which is automatically assigned by a router’s DHCP server and can change, and a static IP address, which is a fixed, manually configured address. A static IP is essential for applications requiring a constant point of contact, such as hosting game or media servers, ensuring reliable access to network printers and security cameras, and making port forwarding more effective.
The article details two primary methods for setting up a static IP. The first involves configuring the network settings directly on the end device, such as a Windows or macOS computer. This requires gathering current network information (Subnet Mask, Default Gateway, DNS) and then manually inputting these details along with a new, non-conflicting IP address. The second, and often preferred, method is DHCP Reservation, which is configured on the router. This technique tells the router to always assign the same IP address to a specific device based on its unique MAC address, offering centralized management without altering the device’s own settings. The guide provides step-by-step instructions for both methods, supplemented by a comparison table and a troubleshooting section to help users verify their connection and solve common problems like IP conflicts. An FAQ section addresses common user questions about security, ISP services, and gaming needs, ultimately empowering users to build a more reliable and functional network.