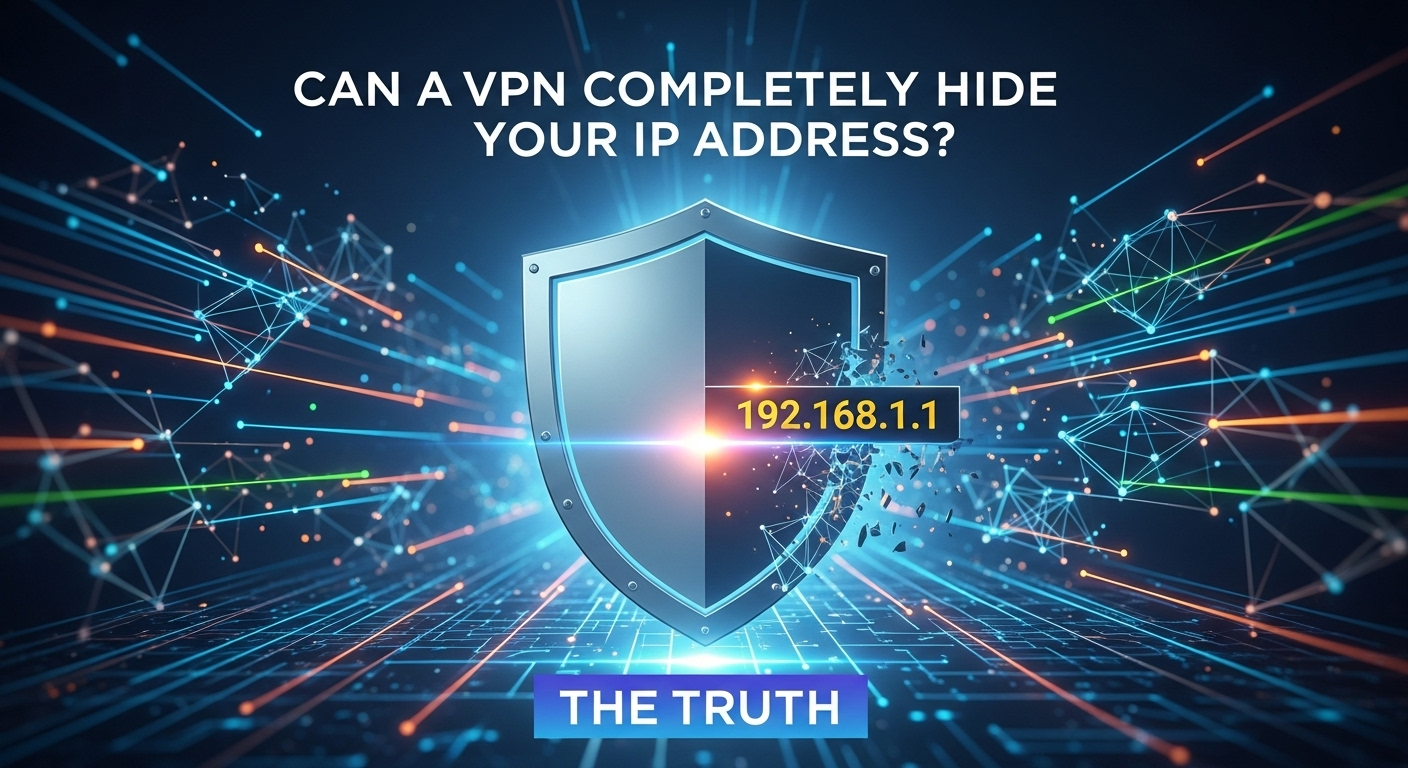
In today’s digitally interconnected world, the concept of privacy feels increasingly elusive. Every click, search, and connection leaves a digital footprint, with your IP address acting as a unique identifier, linking your online activities back to you. This has led to a surge in the popularity of Virtual Private Networks (VPNs) as the go-to tool for digital anonymity. However, this raises a crucial question that lies at the heart of online security concerns. The quest for online privacy often leads to one critical question: can a VPN completely hide my IP address? While the simple answer is that a VPN is the most effective tool available to the public for this purpose, the word “completely” introduces a layer of complexity that demands a deeper, more truthful exploration. In an era of pervasive tracking by corporations, governments, and malicious actors, understanding the capabilities and limitations of your privacy tools is paramount. A VPN works by creating an encrypted tunnel for your internet traffic and routing it through a server operated by the VPN provider. This process effectively replaces your real IP address with the IP address of the VPN server. To any website or online service you connect to, your location and identity appear to be that of the server, not your own. This fundamental mechanism is the cornerstone of how a VPN provides privacy and security. However, the effectiveness of this process is not absolute. The promise of complete invisibility is contingent on several factors, including the quality of the VPN service, the configuration of your device, and your own online habits. A poorly configured or low-quality VPN can leak your real IP address, rendering its primary function useless. Furthermore, even with a perfect VPN connection, other tracking methods exist that can compromise your anonymity. This article will pull back the curtain on the mechanics of VPNs and IP-hiding. We will explore how a VPN masks your IP address, investigate the common ways it can fail, and discuss other digital breadcrumbs that can reveal your identity. By the end, you will have a clear and realistic understanding of a VPN’s role in your digital privacy toolkit and know whether it can truly offer the complete anonymity many users seek. Understanding the Core Mechanism: How a VPN Masks Your IP To grasp the limitations of a VPN, one must first appreciate its core function. A VPN is, at its heart, a sophisticated privacy tool designed to create a secure and private connection over a public network, like the internet. Its primary method for protecting your identity is by masking your Internet Protocol (IP) address. Think of your IP address as your home’s mailing address in the digital world. It’s a unique string of numbers assigned by your Internet Service Provider (ISP) that identifies your device on the internet, revealing your general geographic location. When you connect to the internet without a VPN, your device communicates directly with websites and online services. This means your real IP address is visible to every site you visit, every server you connect to, and, of course, to your ISP, who can log all your activity. A VPN fundamentally alters this process. It acts as an intermediary, rerouting your traffic through one of its own private servers before sending it to its final destination. This single step is what obscures your IP. The beauty of this system is its dual-layer protection. Not only is your IP address substituted, but the connection between your device and the VPN server is also heavily encrypted. This is known as the “VPN tunnel.” This encryption scrambles your data, making it unreadable to anyone who might try to intercept it, including your ISP or anyone snooping on a public Wi-Fi network. In essence, a VPN provides a new digital identity (the server’s IP) and a protective shield (the encryption) for your online journey. The Encrypted Tunnel: Your Private Data Highway The encrypted tunnel is arguably the most critical component of a VPN’s security. When you activate your VPN, it establishes a secure, point-to-point connection between your device and the VPN server. All data passing through this tunnel is encapsulated and encrypted using complex cryptographic protocols like OpenVPN or WireGuard. This process is akin to taking a letter, placing it inside a locked metal box, and then sending it, rather than simply mailing a postcard for all to read. Even your own ISP, which facilitates your connection to the internet, cannot see the content of your traffic. They can detect that you are connected to a VPN server and see the volume of encrypted data being transferred, but they cannot decipher what websites you are visiting, what files you are downloading, or what messages you are sending. This is a massive step up in privacy, as ISPs in many countries are known to log user activity and may share or sell this data. The tunnel effectively creates a black box around your internet activity. The Server Swap: Adopting a New Digital Identity Once your data is securely inside the encrypted tunnel, it travels to the VPN server you’ve selected. This server can be located anywhere in the world, depending on the provider’s network. When the server receives your request (for example, to load a website), it decrypts it and sends it to the destination website on your behalf. Here is the crucial part: the server uses its own IP address for this request, not yours. To the destination website, it appears as if the request originated directly from the VPN server. If you are in London and connect to a VPN server in Tokyo, every website you visit will see a Japanese IP address. They will tailor content, language, and restrictions based on that Tokyo IP. Your true IP address and location in London remain hidden, known only to the VPN provider (a point we will revisit later). This IP masking is what allows users to bypass geo-restrictions, access region-locked content, and significantly enhance their anonymity online. The Cracks in the

Why the Importance of Two-Factor Authentication Matters
In our hyper-connected world, where personal data is the new currency, a single password is no longer a sufficient guardian for our digital lives. From banking details and private conversations to precious photos and professional documents, we entrust an immense amount of sensitive information to online services. The alarming rise in data breaches and sophisticated cyberattacks has laid bare the vulnerabilities of traditional password-only security. This is precisely why understanding the importance of two-factor authentication is not just a recommendation for the tech-savvy, but an absolute necessity for everyone who values their digital privacy and security. It represents the single most effective step you can take to fortify your online accounts against unauthorized access. Understanding the Fundamentals: What is Two-Factor Authentication? At its core, Two-Factor Authentication (or 2FA) is a security process that requires users to provide two different authentication factors to verify their identity. Think of it as a double-check system. Your password is the first factor—something you know. The second factor is typically something you have (like your smartphone) or something you are (like your fingerprint). This multi-layered approach means that even if a cybercriminal manages to steal your password, they still cannot access your account without also having possession of your second factor. The concept of authentication is built on three fundamental factor types: Knowledge Factor: Something only the user knows, like a password, PIN, or the answer to a security question. Possession Factor: Something only the user has, such as a mobile phone (for receiving a code), a physical security key, or an ID card. Inherence Factor: Something the user is, which refers to biometric data like a fingerprint, facial scan, or voice recognition. Two-Factor Authentication combines any two of these categories. It's a significant upgrade from Single-Factor Authentication (SFA), which relies solely on a password. While you may also hear the term Multi-Factor Authentication (MFA), 2FA is simply a specific subset of MFA. MFA can involve two or more factors, but 2FA is the most common and accessible implementation for the average user, providing a perfect balance of enhanced security and usability. The Mechanics of Security: How Does 2FA Actually Work? The process of using 2FA is designed to be straightforward for the legitimate user but a formidable barrier for an attacker. When you log in to an account with 2FA enabled, the process follows a simple sequence. First, you enter your username and password as you normally would. Once the service verifies that your password is correct, it initiates the second step. It prompts you to provide your second authentication factor before granting access. This is the critical moment where a stolen password becomes useless on its own. This second factor can be delivered in several ways, depending on the method you've chosen. It could be a unique, time-sensitive code generated by an authenticator app on your phone, a code sent to you via SMS, a simple tap on a physical security key plugged into your computer, or a request for your fingerprint on your mobile device. The server on the other end is expecting this specific second piece of information. Without it, the login attempt fails, and your account remains secure. This process effectively neutralizes the threat posed by password theft, which is the root cause of the vast majority of account takeovers. #### The 'Something You Have' Factors: Apps and Keys One of the most secure and popular forms of 2FA involves a “possession” factor. This is typically a device you physically own. The two leading methods in this category are authenticator apps and physical security keys. Authenticator apps, such as Google Authenticator, Microsoft Authenticator, or Authy, are free applications you install on your smartphone. When you link an online account, the app generates a Time-based One-Time Password (TOTP) that refreshes every 30-60 seconds. To log in, you simply open the app and enter the current code. Since the code is generated locally on your device and is constantly changing, it is highly resistant to interception. Physical security keys, like the YubiKey or Google Titan Security Key, represent the gold standard for 2FA. These are small USB devices that you plug into your computer or tap against your phone (using NFC). When prompted for your second factor, you simply touch a button on the key. This method is virtually phishing-proof, as it involves a physical interaction and cryptographic verification that cannot be easily replicated or stolen by a remote attacker. While they involve a small upfront cost, their superior security makes them an excellent investment for protecting high-value accounts. #### The 'Something You Are' Factor: Biometrics The “inherence” factor, or biometrics, leverages your unique biological traits for authentication. This is the technology behind unlocking your smartphone with your fingerprint (Touch ID) or your face (Face ID). Many mobile banking apps and password managers have integrated biometric authentication as a seamless and highly secure form of 2FA. When you try to access the app, after potentially entering a master password (the first factor), it will prompt for your fingerprint or facial scan (the second factor). The primary advantage of biometrics is the unparalleled convenience. There are no codes to type or keys to insert; the verification is nearly instantaneous. From a security perspective, it's incredibly difficult for an attacker to replicate someone's fingerprint or face, making it a robust second factor. As this technology becomes more integrated into our daily devices, it is lowering the barrier to entry for strong authentication, making it easier than ever for users to adopt 2FA without feeling like it's a cumbersome extra step. The Crucial Benefits: Why You Absolutely Need 2FA Today The single most compelling reason to enable 2FA is its proven effectiveness in preventing unauthorized access. According to research from Microsoft, enabling multi-factor authentication blocks over 99.9% of automated cyberattacks. This statistic alone highlights the dramatic leap in security you gain. In an age of massive data breaches where billions of credentials are leaked onto the dark web, it's safe to assume that at
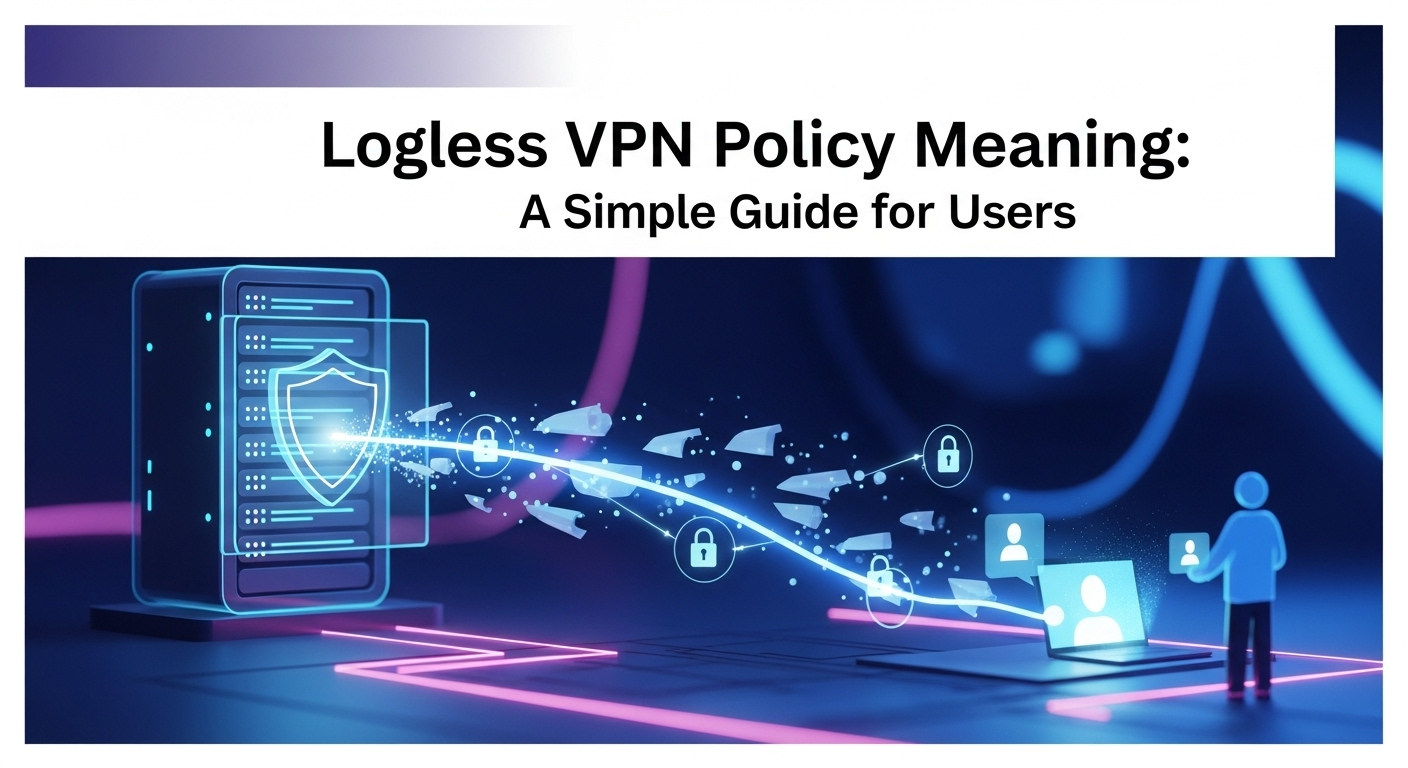
Logless VPN Policy Meaning: A Simple Guide for Users
In an era where our digital footprints are larger than ever, concerns about online privacy have rightfully taken center stage. From social media platforms to internet service providers (ISPs), numerous entities are tracking, collecting, and often monetizing our online activities. A Virtual Private Network (VPN) has emerged as a crucial tool for reclaiming this privacy, creating a secure, encrypted tunnel for your internet traffic. However, not all VPNs are created equal. The foundational promise of privacy hinges on one critical element: the provider's logging policy. Understanding the logless vpn policy meaning is not just a technical detail; it is the most important factor in determining whether a VPN will truly protect you or simply become another data-gathering entity. This guide will demystify this concept, empowering you to make an informed choice for your digital security. Understanding the "Log" in VPNs: What Data is at Stake? Before we can appreciate a "logless" policy, we must first understand what "logs" are. In the context of a VPN service, logs are records of user activity and connection data that are stored by the VPN provider. Every online service, by its very nature, processes data. When you connect to a VPN server, your traffic is routed through that server. This process generates a massive amount of data, and the provider has to decide what, if any, of that data it wants to record and store. This decision is the bedrock of its privacy policy. The types of logs a VPN can keep are vast and varied, but they generally fall into two main categories: broad connection logs and highly specific usage logs. Think of it as the difference between a building's security guard noting when you entered and left (connection log) versus having a camera follow you to every room to record what you did inside (usage log). While one is certainly more invasive than the other, even seemingly harmless metadata can be pieced together to compromise your anonymity. The danger of these logs cannot be overstated. If a VPN provider stores detailed records of your activity, that data can be vulnerable in several ways. It could be handed over to government agencies in response to a legal request, stolen by hackers in a data breach, or even sold to third-party advertisers and data brokers. In essence, a VPN that keeps logs defeats its primary purpose. Instead of being a shield for your privacy, it becomes a centralized repository of your online life, a honeypot of sensitive information waiting to be exploited. This is why a strict no-logs policy is the gold standard. 1. Connection Logs (Metadata) Connection logs, often referred to as metadata, are records related to the session itself, not the content of your traffic. This might seem less harmful at first glance, but this data can be incredibly revealing. These logs typically include information such as your original IP address, the IP address of the VPN server you connected to, connection timestamps (start and end times), and the amount of data transferred during your session. Even without knowing the exact websites you visited, this metadata can be used to link online activity back to you. For instance, a law enforcement agency could obtain a timestamp for a specific activity from one online service and then compel the VPN provider to reveal which user was connected to a particular server at that exact moment. This process, known as traffic correlation, effectively shatters your anonymity. Therefore, a truly private VPN should refrain from keeping any connection logs that can be tied to an individual user identity. 2. Usage Logs (Activity Logs) Usage logs, also known as activity logs, are the most invasive and dangerous type of data a VPN provider can store. These are detailed records of what you actually do while connected to the VPN. This is the "camera in the room" we mentioned earlier, recording every move you make. These logs are a privacy-conscious user's worst nightmare. This category includes, but is not limited to, the following information: The websites you visit The search queries you type into Google The files you download or upload The applications and services you use Your communication details, such as messages or video calls A VPN provider that records this type of information is acting in direct opposition to the principles of privacy and security. There is no legitimate reason for a consumer-facing VPN service to monitor and store user activity logs. If a VPN's privacy policy indicates that it keeps any form of usage or activity logs, it should be avoided at all costs. It's a massive red flag that signals the service cannot be trusted with your data. Deciphering the Logless VPN Policy Meaning Now we arrive at the core of our discussion. The term "logless VPN" or "no-logs VPN" is a marketing claim used by nearly every provider in the industry. However, the logless vpn policy meaning can vary dramatically from one service to another. It is not a legally defined or standardized term. In its ideal form, a no-logs policy means that the VPN provider does not store any data that could be used to identify a specific user or their online activities. This includes both connection logs and usage logs. A true "no-logs" provider structures its systems in a way that user data is never written to a hard drive. It may exist temporarily in the server's RAM (Random Access Memory) during an active session, but it is wiped clean the moment the session ends or the server is rebooted. This technical design makes it impossible for the provider to comply with a data request from authorities because the data simply does not exist. They cannot hand over what they do not have. However, it's crucial to understand that even the strictest no-logs VPNs need to monitor some data for service maintenance and optimization. For example, they might track the total number of users on a specific server to manage load balancing or monitor the total bandwidth used across
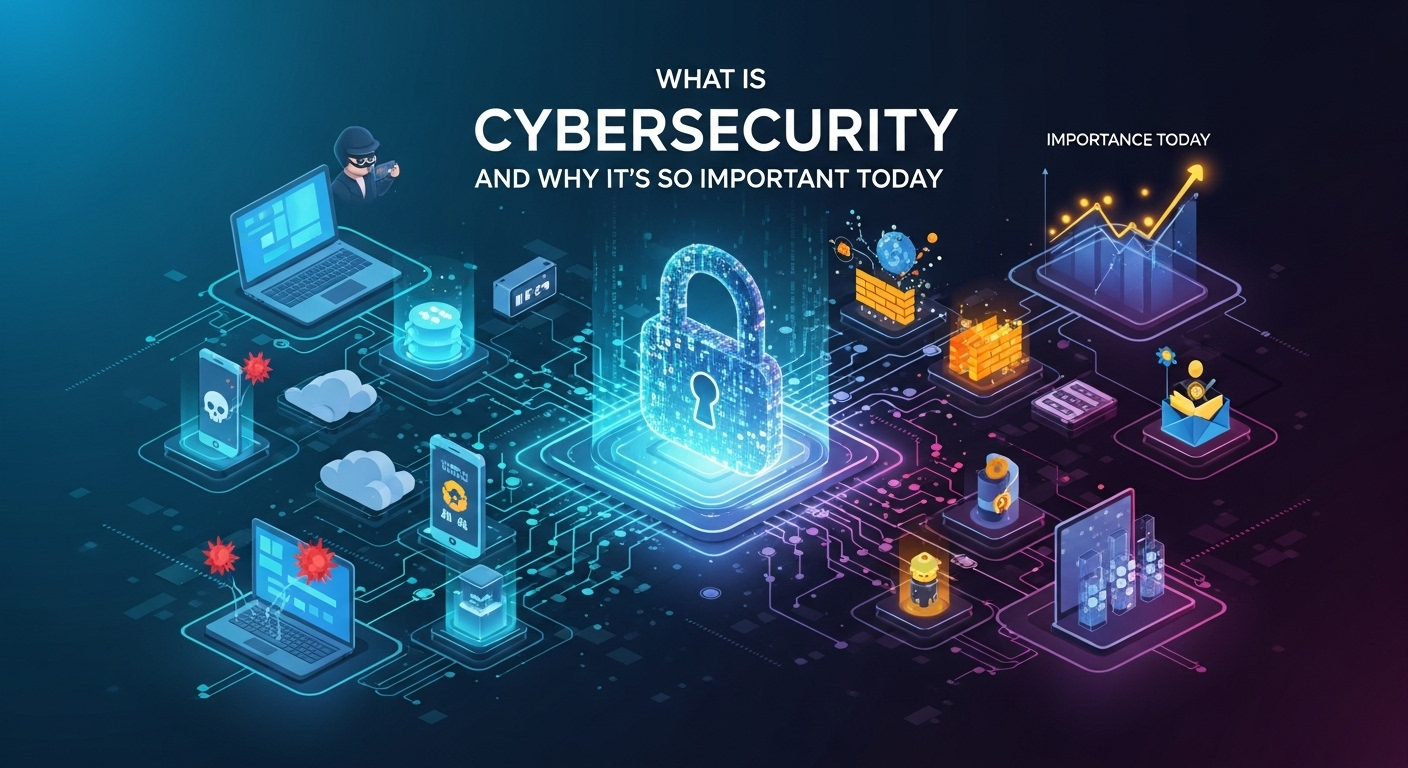
What is Cybersecurity and Why It’s So Important Today
In our hyper-connected world, where daily life unfolds across a digital landscape, the concepts of safety and security have taken on a new dimension. From online banking and social media to critical national infrastructure, our reliance on digital systems is absolute. This dependency, however, exposes us to a host of invisible dangers lurking in the virtual shadows. Understanding what is cybersecurity and why is it important is no longer a niche concern for IT professionals; it has become a fundamental aspect of modern literacy, crucial for protecting our data, privacy, and way of life. This guide will explore the multifaceted world of cybersecurity, demystifying its core principles, outlining the prevalent threats, and highlighting the critical role it plays in securing our digital future. Demystifying Cybersecurity: The Core Concepts At its heart, cybersecurity is the practice of protecting systems, networks, and programs from digital attacks. These cyberattacks are usually aimed at accessing, changing, or destroying sensitive information; extorting money from users via ransomware; or interrupting normal business processes. It's a broad field that encompasses everything from the antivirus software on your personal laptop to the sophisticated defense mechanisms protecting government databases. The ultimate goal is to establish a secure digital environment where data and systems are safe from unauthorized access and malicious intent. This practice is built upon a foundational principle known as the CIA Triad. This acronym stands for Confidentiality, Integrity, and Availability. Confidentiality ensures that data is accessible only to authorized individuals, preventing sensitive information from falling into the wrong hands. Integrity maintains the consistency, accuracy, and trustworthiness of data over its entire lifecycle, ensuring it is not altered by unauthorized parties. Finally, Availability guarantees that systems, networks, and data are operational and accessible to authorized users when needed. A robust cybersecurity strategy effectively balances these three pillars to create a resilient defense. While often used interchangeably, it's useful to distinguish between cybersecurity and information security. Information security (InfoSec) is a broader term that pertains to protecting all information assets, whether in digital or physical form (e.g., paper documents). Cybersecurity is a subset of information security that focuses specifically on protecting digital data and systems. In today's digital-first world, the lines have blurred, but the distinction remains important. Cybersecurity is the frontline defense for the vast majority of our most valuable and vulnerable information. The Ever-Evolving Landscape of Cyber Threats The importance of cybersecurity is underscored by the relentless and sophisticated nature of the threats it aims to combat. Cybercriminals are constantly innovating, developing new methods to exploit vulnerabilities in systems, networks, and human behavior. These threats are not a distant, abstract problem; they affect individuals, small businesses, multinational corporations, and even governments on a daily basis, causing financial loss, reputational damage, and widespread disruption. Understanding these common threats is the first step toward building an effective defense. The spectrum of cyber threats is vast and varied, ranging from simple scams to highly coordinated state-sponsored attacks. Some are designed for quick financial gain, while others aim for long-term espionage or sabotage. The perpetrators can be lone-wolf hackers, organized criminal syndicates, politically motivated "hacktivists," or even national intelligence agencies. This diversity in motivation and capability means that no single defensive solution is enough. A layered, defense-in-depth approach is necessary to protect against such a dynamic threat landscape. Let's delve into some of the most prevalent and damaging types of cyber threats that define the current digital battleground. Malware: The Malicious Software Family Malware, short for “malicious software,” is an umbrella term for any intrusive software developed by cybercriminals to steal data or damage computer systems. It is one of the most common cyber threats and comes in many forms. Viruses attach themselves to clean files and spread through a computer system, infecting other files as they go. Trojans disguise themselves as legitimate software to trick users into installing them, creating a backdoor for other malware or malicious actors. Spyware secretly records a user’s online activity, including login credentials and credit card numbers. Malware can be delivered in a variety of ways, but the most common infection vectors are malicious email attachments, suspicious downloads, and compromised websites. Once a device is infected, the malware can perform a range of harmful actions, from slowing down the computer to stealing personal information or providing a hacker with remote control over the device. This is why having reputable antivirus and anti-malware software is a non-negotiable component of basic cyber hygiene. Phishing and Social Engineering: The Human Element Cybersecurity isn’t just about technology; it’s also about people. Social engineering is the art of manipulating people into giving up confidential information. The most common form of social engineering is phishing, where attackers send fraudulent emails that appear to be from reputable sources. These emails are designed to trick recipients into revealing sensitive information, such as passwords and credit card numbers, or to deploy malware onto their machines by clicking a malicious link. Phishing attacks have become increasingly sophisticated. Spear phishing targets a specific individual or organization, often using personal information to make the scam more convincing. Whaling is a form of spear phishing aimed at senior executives. Attackers leverage the human tendency to trust and act quickly, creating a sense of urgency or fear (e.g., "Your account has been compromised, click here immediately to secure it"). The most effective defense against phishing is user awareness and skepticism. Ransomware: The Digital Hostage-Taker Ransomware is a particularly vicious type of malware that has become a multi-billion dollar criminal industry. It works by encrypting a victim’s files, making them completely inaccessible. The attacker then demands a ransom payment, typically in cryptocurrency like Bitcoin, in exchange for the decryption key. There is, however, no guarantee that the attackers will provide the key even after the ransom is paid. These attacks can be devastating, crippling hospitals, city governments, and businesses of all sizes. For an individual, it can mean the loss of irreplaceable photos and personal documents. For a business, it can mean a complete shutdown of operations, leading to
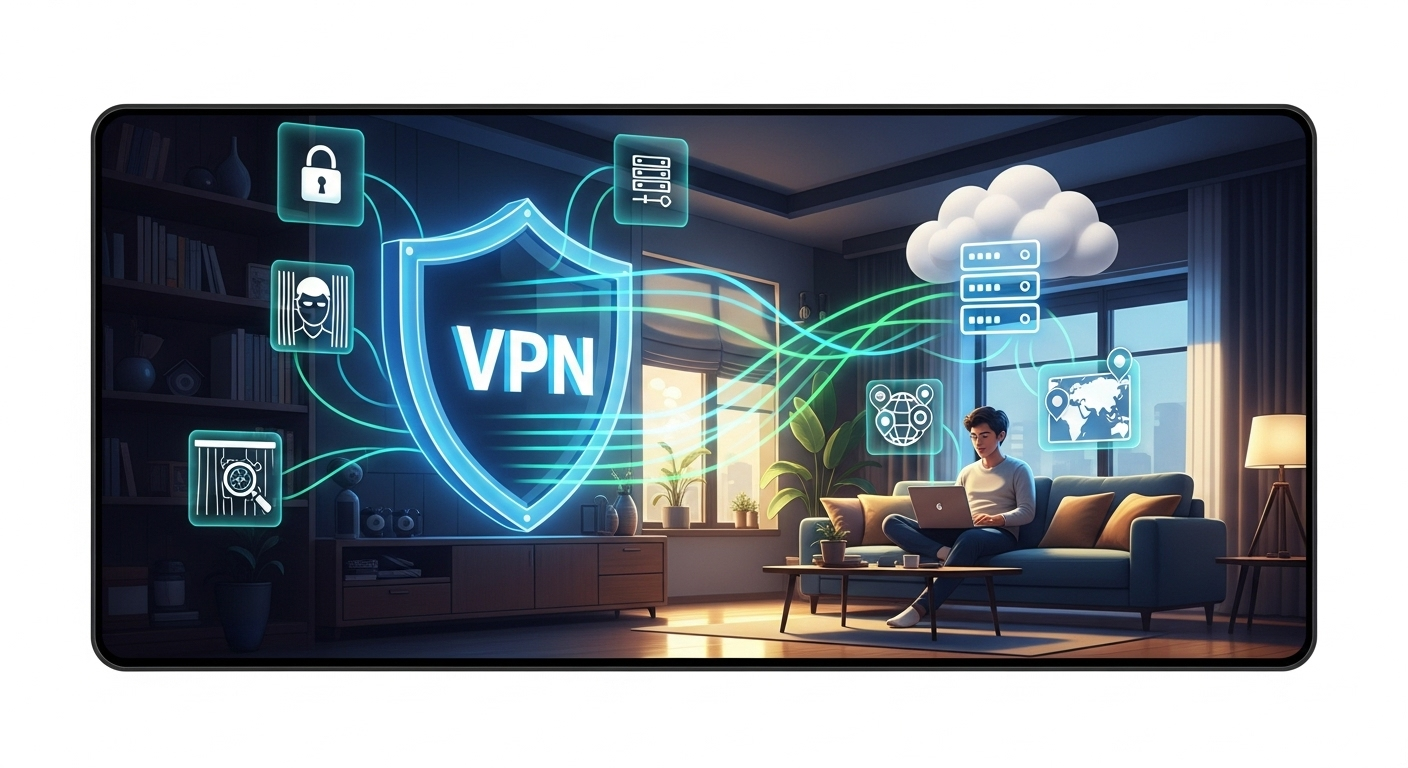
Benefits of a VPN at Home for Security and Privacy
In today's hyper-connected world, our homes have transformed into digital hubs. From remote work and online education to streaming entertainment and managing smart devices, our home Wi-Fi networks are the invisible backbones of our daily lives. However, this convenience comes with a hidden cost: a significant increase in our vulnerability to cyber threats and privacy invasions. While we lock our physical doors, we often leave our digital doors wide open. This is where a Virtual Private Network (VPN) becomes not just a useful tool, but an essential utility. As awareness grows, many people are now discovering the extensive benefits of using a vpn at home to reclaim their digital sovereignty and fortify their personal corner of the internet. Fortifying Your Digital Fortress: Enhanced Security Against Cyber Threats In the vast landscape of the internet, your home network can be seen as a private castle. However, without the right defenses, its walls are more like glass than stone. Every device connected to your Wi-Fi—from your laptop and smartphone to your smart TV and security camera—is a potential entry point for malicious actors. A VPN acts as your digital gatekeeper and armored guard, creating a powerful first line of defense against a wide array of online dangers. It’s a proactive step towards transforming a vulnerable network into a secure digital fortress. At its core, a VPN secures your internet connection through a process called encryption. When you connect to the internet through a VPN, it creates a secure, encrypted "tunnel" between your device and the VPN server. All the data that travels through this tunnel—your browsing history, passwords, financial details, and private messages—is scrambled into unreadable code. Most reputable VPNs use military-grade AES-256 encryption, the same standard used by governments and security agencies worldwide. This means that even if a hacker managed to intercept your data, they would see nothing but a meaningless jumble of characters. While many associate the need for a VPN with public Wi-Fi hotspots in cafes or airports, the security benefits at home are equally critical. Your home Wi-Fi is not inherently immune to attacks. A poorly secured router, weak passwords, or vulnerabilities in your Internet Service Provider's (ISP) infrastructure can leave you exposed. By encrypting all traffic leaving your home network, a VPN ensures that your online activities remain confidential and protected from prying eyes, regardless of any potential weaknesses in your local network setup. Preventing Man-in-the-Middle (MitM) Attacks A Man-in-the-Middle (MitM) attack is a common and dangerous form of cyberattack where a malicious actor secretly positions themselves between two parties—for example, you and your bank's website—to intercept, read, or even alter the communication. On an unsecured network, this can happen without you ever realizing it. The attacker could capture your login credentials, credit card numbers, or other sensitive information, leading to identity theft or financial loss. This is where a VPN's encryption becomes indispensable. By establishing an end-to-end encrypted tunnel, a VPN makes the data you send and receive completely unreadable to any third party trying to eavesdrop. If a cybercriminal attempts a MitM attack on your VPN-protected connection, all they will capture is the encrypted data packet. Without the decryption key, which is securely held between your device and the VPN server, this information is entirely useless to them. It effectively neutralizes the threat, allowing you to browse, shop, and bank online with confidence. Securing Your Smart Home (IoT) Devices The Internet of Things (IoT) has brought incredible convenience into our homes, with devices like smart speakers, thermostats, lighting systems, and security cameras. However, these devices are notoriously insecure. They are often manufactured with default, easily guessable passwords and rarely receive timely security updates, making them a prime target for hackers. A compromised smart camera could be used to spy on your family, or a hacked smart hub could give an intruder control over your entire home network. A key benefit of a home VPN is its ability to protect these vulnerable devices. While you can't install a VPN app directly on most IoT gadgets, you can install a VPN on your home router. When you configure a VPN at the router level, every single device that connects to your Wi-Fi is automatically protected by the VPN's encrypted tunnel. This creates a secure umbrella over your entire smart home ecosystem, shielding your IoT devices from being exploited as a backdoor into your digital life. Reclaiming Your Privacy: Staying Anonymous Online In the digital age, privacy is a commodity. Every click, search, and online purchase is tracked, collected, and analyzed by a vast network of corporations and data brokers. Your Internet Service Provider (ISP) has a front-row seat to all your online activities, and they are legally permitted in many countries to monitor and even sell your browsing data to advertisers. A VPN is one of the most powerful tools available to the average person to reclaim their digital privacy and move through the online world with greater anonymity. The primary way a VPN protects your privacy is by masking your IP address. Think of your IP address as the digital equivalent of your home mailing address; it identifies your device on the internet and reveals your approximate geographical location. When you connect to a VPN, your real IP address is hidden and replaced with the IP address of the VPN server you've connected to. If you're in New York and connect to a VPN server in Switzerland, any website or online service you visit will see a Swiss IP address, not yours. This simple act of IP masking has profound implications for your privacy. It breaks the link between your online activities and your real-world identity. Advertisers can no longer track your location and browsing habits with the same accuracy. Websites can't build a persistent profile of you based on your IP address. It effectively allows you to browse the web without leaving a trail of digital breadcrumbs leading directly back to your front door, restoring a level of anonymity that has been largely
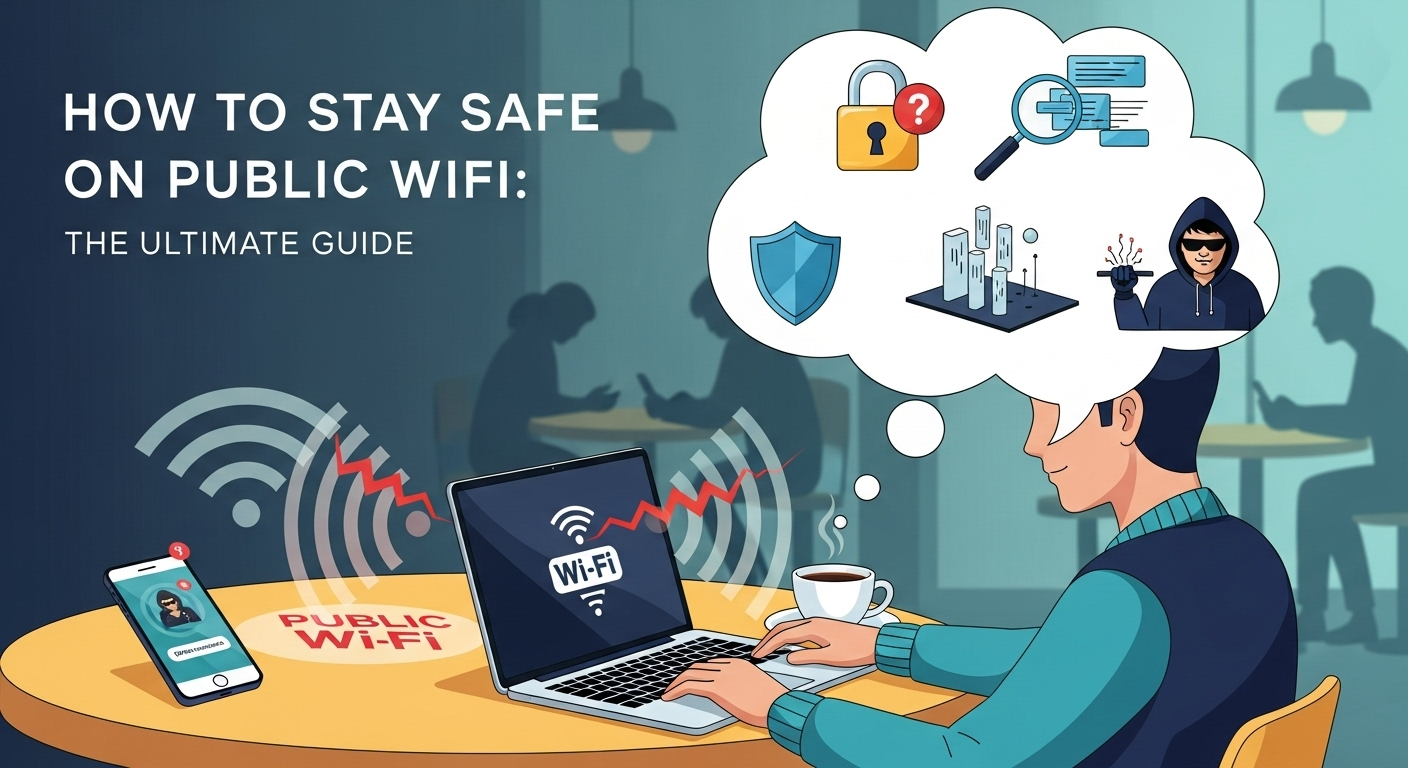
How to Stay Safe on Public WiFi: The Ultimate Guide
In an age where digital connectivity is as essential as air, public WiFi has become the unsung hero of the modern professional, student, and traveler. From bustling coffee shops and quiet libraries to sprawling airports and city parks, a free internet connection is often just a few clicks away. This convenience, however, comes with a hidden and significant cost: your digital security. The open nature of these networks makes them a hunting ground for cybercriminals looking to steal your personal information, financial data, and digital identity. Understanding how to stay safe on public wifi networks is no longer an optional skill for the tech-savvy; it is a fundamental necessity for anyone who values their privacy and security in the 21st century. Understanding the Dangers: Why Public WiFi is Risky Public WiFi networks are, by design, built for easy access, not robust security. Unlike your home network, which is protected by a strong password and encryption known only to you, public networks are open for anyone to join. This inherent openness creates a shared digital environment where your data travels alongside the data of countless strangers, including those with malicious intent. The primary issue is the lack of encryption on most free WiFi hotspots. Without it, the data you send and receive—from emails and messages to login credentials—is transmitted in plain text, making it as easy to read as a postcard for anyone on the same network with the right tools. The threats you face on an unsecured public network are varied and potent. One of the most common is the Man-in-the-Middle (MitM) attack, where an attacker secretly intercepts and potentially alters the communication between you and the websites you visit. Another significant risk is the "Evil Twin" attack. In this scenario, a hacker sets up a fraudulent WiFi hotspot with a legitimate-sounding name, like "FreeAirportWiFi" or "CoffeeShop_Guest." When you connect to this malicious network, the attacker has complete control over your internet traffic, allowing them to monitor your activity and inject malware. Other dangers include packet sniffing (using software to "listen in" on network traffic), session hijacking (stealing your session cookies to gain access to your logged-in accounts), and malware distribution. A hacker can exploit vulnerabilities in your device's software to inject viruses or ransomware directly onto your system through the unsecured network. The consequences range from the compromising of your social media accounts to the devastating theft of your bank details, credit card numbers, and personal identity. This is why treating every public WiFi network as potentially hostile is the first step toward better security. Essential Precautionary Measures Before You Connect Your defense against public WiFi threats begins before you even click "connect." Preparing your device is akin to putting on armor before heading into battle; it establishes a baseline of security that can thwart many common attacks. The most critical aspect of this preparation is ensuring your device's software is completely up-to-date. Cybercriminals are constantly searching for security holes (vulnerabilities) in operating systems, web browsers, and applications. Software developers, in turn, are constantly releasing updates (patches) to fix these holes. By taking a few minutes to prepare your laptop, smartphone, or tablet, you create a much harder target for would-be attackers. These pre-connection checks should become a reflexive habit anytime you plan to work or browse from a public location. It's a small investment of time that pays massive dividends in protecting your digital life. Update Everything: Your First Line of Defense Operating systems (like Windows, macOS, Android, and iOS), web browsers (Chrome, Firefox, Safari), and your antivirus/antimalware programs are your primary shields. Developers regularly release security patches that fix vulnerabilities discovered after the software’s initial release. Running an outdated system is like leaving your front door unlocked; it provides an easy entry point for criminals. Before you leave home, make it a habit to check for and install all available updates. This includes not just major OS updates but also updates for all the applications you use, especially those that connect to the internet. An up-to-date system is one of the most effective, and simplest, ways to protect yourself from malware and exploits that are commonly deployed over unsecured networks. A fully patched device is fundamentally more resilient to attacks. Enable and Configure Your Firewall A firewall acts as a digital gatekeeper for your device, monitoring incoming and outgoing network traffic and blocking anything that looks suspicious or violates security rules. Modern operating systems like Windows and macOS come with a built-in software firewall that is highly effective, but you need to ensure it’s turned on. On Windows, you can check this via the "Windows Security" settings, and on a Mac, it's found in "System Settings" under "Network." When you connect to a new network, your OS will often ask if it's a "Public," "Private," or "Work" network. Always choose "Public" when on public WiFi. This setting automatically tightens your firewall rules and disables network discovery features, making your device invisible to other computers on the network and significantly reducing your attack surface. Disable Automatic Connections and File Sharing Many devices are configured to automatically connect to known or open WiFi networks. While convenient, this feature is incredibly dangerous. It could cause your device to connect to a malicious “Evil Twin” network without your knowledge. Go into your device’s WiFi settings and disable any feature that automatically connects to open hotspots. You should always be the one to manually select and approve the network you are joining. Similarly, disable all file and printer sharing options. These features are useful on a trusted home or office network but create a massive security vulnerability on a public one. On a public network, it allows anyone to potentially see and access the shared files on your computer. By selecting the "Public" network profile as mentioned earlier, this is often done automatically, but it's wise to double-check your advanced sharing settings to ensure everything is turned off. Smart Practices While Connected to Public WiFi Once you've prepared your device and
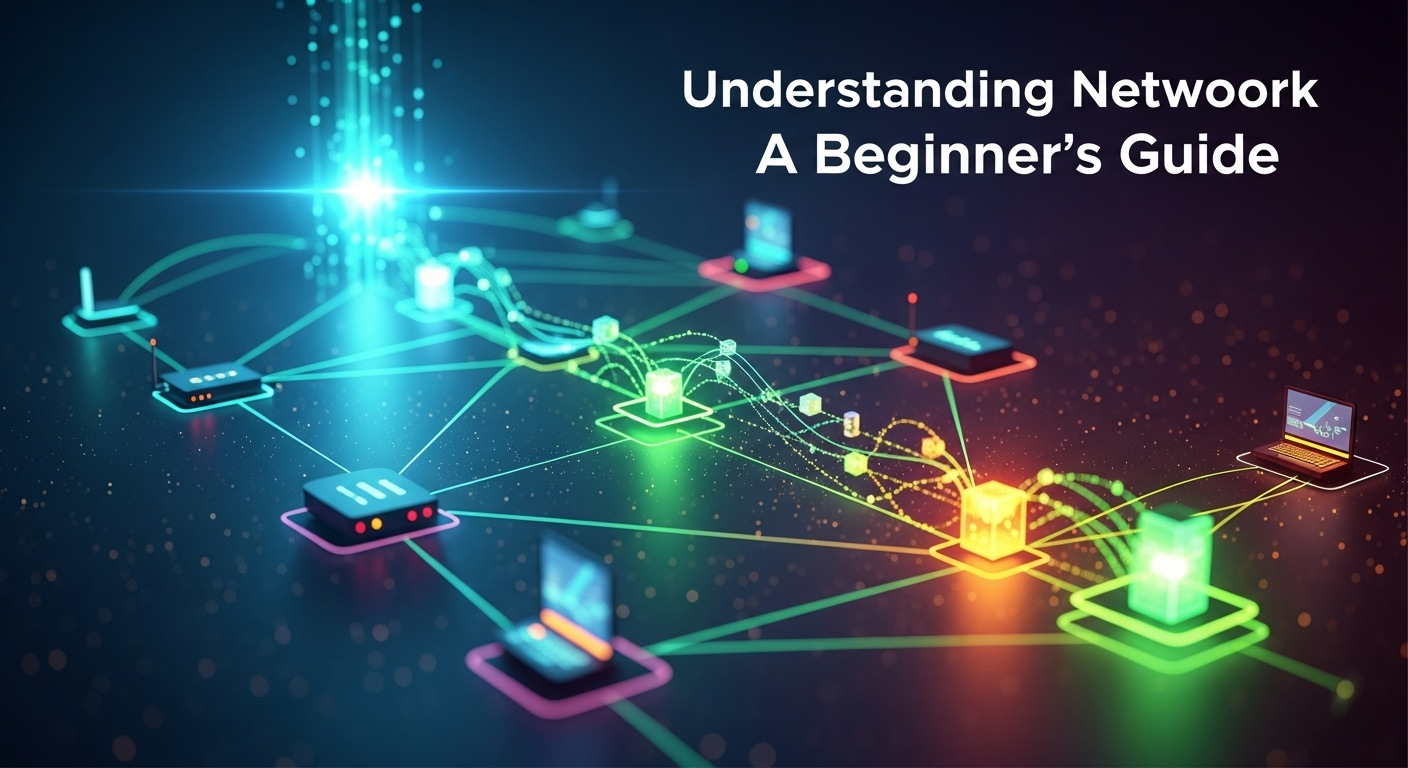
Understanding Network Topology: A Beginner’s Guide
Welcome to the world of networking! If you've ever felt overwhelmed by technical jargon, you're in the right place. Think of a network as a city. The buildings are your computers and devices, and the roads are the cables and wireless signals that connect them. Network topology is simply the city map—it shows how everything is laid out and connected. It’s the foundational plan that dictates how data travels from your laptop to a printer, or from your gaming console to the internet. Gaining a solid understanding network topology for beginners is the first and most crucial step toward demystifying how digital communication works. This guide will break down this essential concept into simple, digestible parts, ensuring you have a clear roadmap to navigate the intricate world of computer networks, from the simplest home setup to complex corporate infrastructures. Understanding Network Topology: A Beginner's Guide What is Network Topology? At its core, network topology is the arrangement of the various elements (links, nodes, etc.) of a computer network. Essentially, it is the schematic description of a network arrangement, detailing how different nodes (like computers, printers, and servers) are placed and interconnected with each other through links (like cables or wireless signals). It serves as the blueprint for the network's infrastructure, defining not only the physical layout but also the path that data will take as it moves between devices. This blueprint is fundamental because it directly influences the network's performance, stability, and scalability. The concept is best understood by splitting it into two distinct categories: Physical Topology and Logical Topology. The physical topology refers to the actual physical layout of devices and cabling. It's what you would see if you could look at the network from above—the placement of the computers, the central switch, and the wires running between them. It’s the tangible, concrete structure of the network. A network might be physically wired in a star shape, with all cables running to a central point. In contrast, the logical topology refers to how data actually flows through the network, regardless of the physical layout. It's the conceptual map of data paths. For example, even if a network is physically wired as a star, it might operate logically as a bus, where every data packet is broadcast to every device. Understanding this distinction is vital. The physical design impacts installation costs, maintenance, and scalability, while the logical design dictates how the network performs and handles traffic. A network administrator must consider both to build an efficient and effective system. Why is Understanding Network Topology Important? Understanding network topology isn't just an academic exercise for IT professionals; it has profound real-world consequences that affect every network's functionality. The primary reason it's so important is its direct impact on network performance. A poorly chosen or implemented topology can lead to data collisions, bottlenecks, and slow transmission speeds. For instance, an old Bus topology might struggle as you add more devices, because all devices share the same communication line. A well-designed Star topology, on the other hand, can handle more traffic efficiently as each device has its own dedicated connection to the central hub. Another critical aspect is troubleshooting and fault tolerance. When a network goes down, time is of the essence. Knowing the network's topology provides a logical map to quickly diagnose problems. In a Star topology, if one computer can't connect, you know the issue is likely with that specific computer or its cable, not the entire network. Conversely, in a Ring or Bus topology, a single break in the cable can bring the entire network offline, making troubleshooting a more complex process of elimination. A well-structured topology, especially one with built-in redundancy like a Mesh topology, can ensure the network remains operational even if one or more connections fail. Finally, topology dictates the scalability and cost of a network. Scalability is the ability to easily add more devices to the network without a significant drop in performance or a complete overhaul of the existing structure. A Star topology is highly scalable because adding a new device is as simple as running a new cable to the central switch. A Mesh topology, while incredibly reliable, is the least scalable due to the high cost and complexity of connecting a new device to every other existing device. By choosing the right topology from the start, an organization can save significant money and effort as it grows, avoiding costly redesigns and downtime. The Core Types of Physical Network Topologies There are several fundamental ways to arrange a network, each with its own unique set of advantages and disadvantages. Understanding these core types is the key to designing a network that fits specific needs, whether for a small home office or a large enterprise. Bus Topology Bus topology is one of the simplest network arrangements. In this setup, all devices (nodes) are connected to a single central cable, often referred to as the backbone or the bus. Think of it as a single street with houses connected to it. Data sent from one device travels along the entire length of the cable and is visible to all other devices on the network. To prevent the signal from bouncing back and causing interference, special resistors called terminators are placed at both ends of the main cable. The primary advantage of a bus topology is its simplicity and low cost. It requires the least amount of cable compared to other topologies and is very easy to set up for small, temporary networks. However, its disadvantages are significant in modern contexts. Because all data travels on the same shared cable, performance degrades quickly as more devices are added and start communicating simultaneously. Furthermore, it represents a single point of failure; if the main backbone cable breaks at any point, the entire network goes down. Troubleshooting can also be a nightmare, as it's difficult to isolate which device or section of the cable is causing the problem. Ring Topology In a Ring topology, devices are connected in
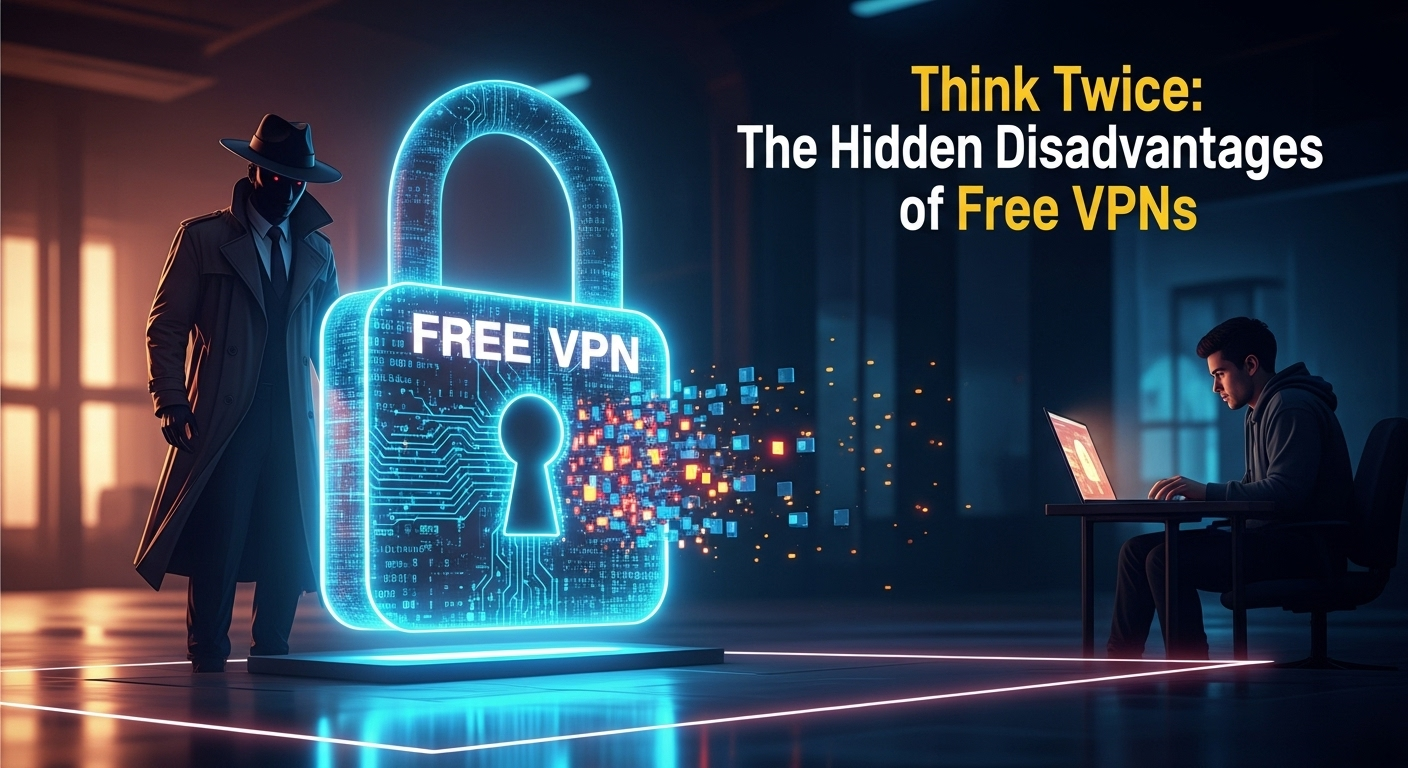
Think Twice: The Hidden Disadvantages of Free VPNs
In the vast landscape of the internet, the promise of "free" is an almost irresistible siren call. Free software, free streaming, and free tools—they all lure us in with the prospect of getting something for nothing. Among these, the free Virtual Private Network (VPN) stands out as a particularly tempting offer, promising digital privacy, security, and unrestricted access to the global web without costing a dime. However, as the old adage goes, if you're not paying for the product, you are the product. The convenience of a no-cost service often masks a dark underbelly of significant risks and trade-offs. It is crucial to understand the full spectrum of disadvantages of using a free vpn, as they can compromise the very privacy and security you seek to protect. The Illusion of "Free": How Free VPNs Really Make Money The fundamental question you should ask about any free service is, "What's the business model?" Servers, development, and maintenance all cost money. A VPN provider, like any business, needs a revenue stream to stay afloat. While premium VPNs charge a subscription fee, free providers must resort to alternative, often non-transparent, methods of monetization. This is where the line between service provider and data exploiter becomes dangerously blurred. The "cost" of a free VPN isn't paid with money, but with your data, your security, and your user experience. These business models are predicated on the large volume of users they can attract with the allure of a free service. Once you are part of their ecosystem, they can leverage your presence in several ways. The most common strategies involve treating your digital footprint as a commodity to be packaged and sold, or deliberately degrading your experience to push you towards a paid upgrade. This "freemium" model is common, but with free VPNs, the free tier can be so compromised that it poses more risks than using no VPN at all. Understanding these monetization tactics is the first step toward recognizing the inherent dangers. They are not simply minor inconveniences; they are fundamental flaws in the service's architecture that directly contradict the purpose of using a VPN. Instead of acting as a shield for your online activities, a free VPN can become a two-way mirror, exposing you to the very entities you were trying to hide from. Selling Your Personal Data The most alarming way free VPNs generate revenue is by logging and selling your data. This includes your browsing history, the websites you visit, how long you stay on them, your IP address, device information, and connection timestamps. This treasure trove of personal information is incredibly valuable to third parties, such as data brokers, advertising companies, and market research firms. They use this data to build detailed profiles about you for targeted advertising, or worse. A reputable paid VPN operates on a strict no-logs policy, meaning it doesn't track or store any information about your online activities. Free VPNs, on the other hand, often have vague or misleading privacy policies that give them the legal leeway to collect your data. In 2017, a comprehensive study by CSIRO analyzing 283 VPN apps found that an alarming 75% of free VPNs contained some form of tracking, actively undermining user privacy. Your data, which you intended to protect, becomes the currency you pay with. Intrusive Advertisements and Tracking Another common monetization method is injecting ads directly into your browsing experience. This isn’t just about a simple banner ad on their website. Free VPN services can actively inject pop-ups, banner ads, and even video ads into the websites you visit, creating an intrusive and frustrating user experience. These ads not only slow down your connection but also pose a significant security risk. Many of these ad networks use trackers and cookies to monitor your behavior across the web, further eroding your privacy. Some malicious free VPNs have even been caught redirecting users to affiliate websites without their consent or replacing legitimate ads on websites with their own. This practice, known as ad injection, is not only unethical but can also expose you to phishing scams and malware if the injected ads lead to malicious sites. Upselling Through a Degraded Service The “freemium” model is a legitimate business strategy, but many free VPNs take it to an extreme. They intentionally cripple the free version of their service to make it almost unusable for anything other than basic, intermittent browsing. This is a tactic designed to frustrate you into upgrading to their paid plan. These limitations manifest in several ways: Strict data caps: You might only get 500MB or 2GB of data per month, which is quickly consumed by video streaming, downloading, or even heavy social media use. Throttled speeds: Your connection speeds are deliberately slowed down, making activities like streaming in HD or online gaming impossible. Limited server selection: You may only have access to a handful of overcrowded servers in a few countries, which are often slow and unable to unblock geo-restricted content. Severe Security and Privacy Compromises The primary reason anyone uses a VPN is to enhance their online security and privacy. A VPN is supposed to create an encrypted tunnel that shields your internet traffic from prying eyes, including your Internet Service Provider (ISP), hackers on public Wi-Fi, and government surveillance. Unfortunately, many free VPNs fail spectacularly at this core function, often providing a false sense of security that is more dangerous than no security at all. These services often cut corners on the most critical aspects of security infrastructure. They may use outdated and weak encryption protocols that can be easily broken, or they might not even encrypt your traffic at all, simply routing it through their servers while leaving it completely exposed. A 2016 study shockingly revealed that 18% of the free VPNs tested didn't use any encryption whatsoever, essentially functioning as unsecure proxies while marketing themselves as VPNs. Worse still, some free VPNs are nothing more than "honeypots"—malicious services set up by cybercriminals or even government agencies to attract and monitor unsuspecting
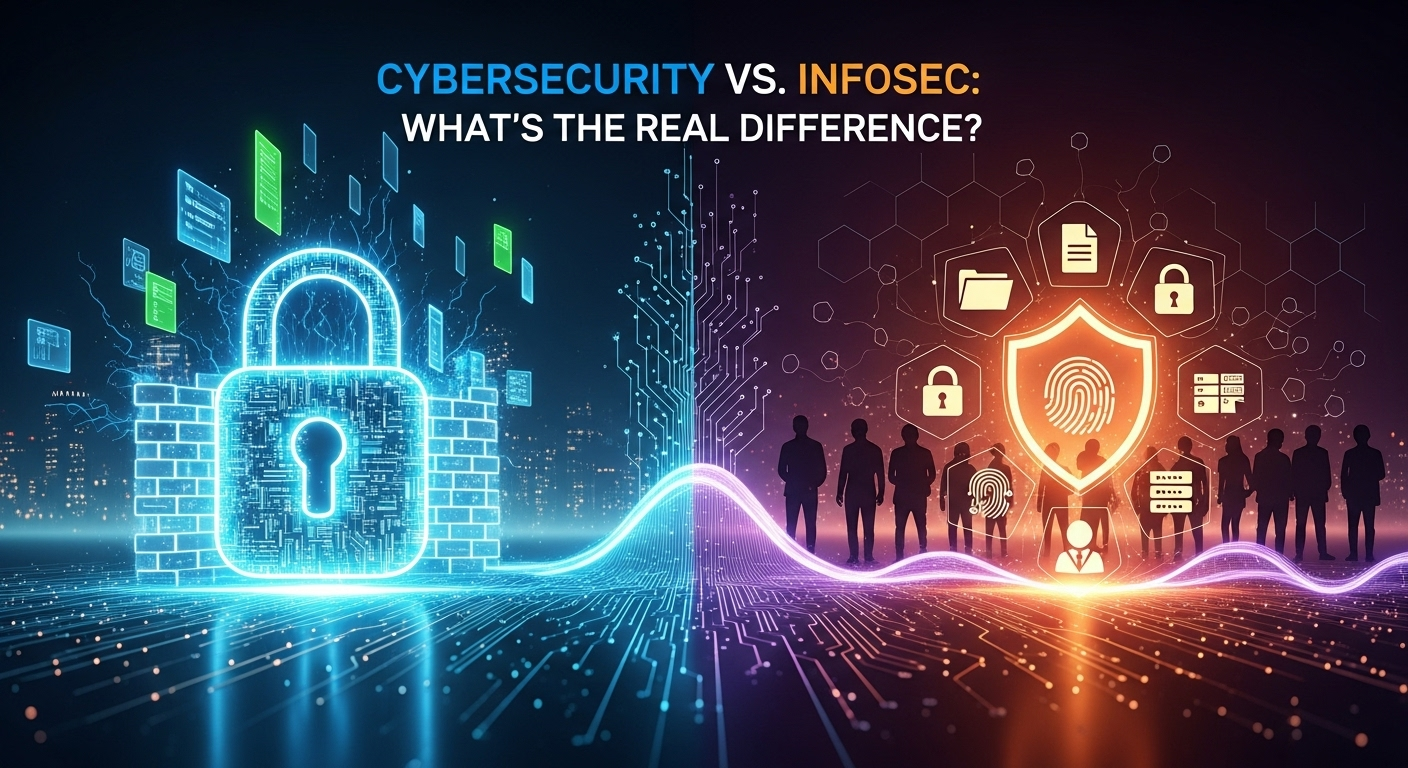
Cybersecurity vs. InfoSec: What’s the Real Difference?
In the rapidly evolving digital landscape, the terms 'cybersecurity' and 'information security' are often used interchangeably in news headlines, job descriptions, and corporate boardrooms. This common mix-up can lead to confusion about roles, responsibilities, and the true scope of protecting an organization's most valuable assets. Understanding the cybersecurity vs information security differences is not just a matter of semantics; it is crucial for building a robust, comprehensive, and effective defense strategy. While they are deeply interconnected, they represent distinct disciplines with different scopes, objectives, and methodologies. This article will demystify these terms, offering a clear, in-depth exploration of what sets them apart and why that distinction matters for professionals and businesses alike. Cybersecurity vs. InfoSec: What's the Real Difference? What is Information Security (InfoSec)? The Bigger Picture Information Security, often shortened to InfoSec, is the overarching umbrella of protection. Its primary objective is to defend information in all its forms from unauthorized access, use, disclosure, modification, or destruction. This is a holistic discipline that is not confined to the digital realm. InfoSec is concerned with the policies, procedures, and controls put in place to ensure the confidentiality, integrity, and availability of data, regardless of whether it's stored on a server, printed on paper in a locked file cabinet, or spoken in a confidential meeting. The foundational principle of InfoSec is the CIA Triad: Confidentiality: Ensuring that information is not disclosed to unauthorized individuals, entities, or processes. This is about privacy and secrecy. Integrity: Maintaining the consistency, accuracy, and trustworthiness of information over its entire lifecycle. Data must not be changed in an unauthorized or undetected manner. Availability: Ensuring that information is accessible and usable upon demand by an authorized party. This involves protecting the systems that hold and process the data. Think of an InfoSec professional as a strategic planner for all data-related risks. Their purview includes everything from implementing company-wide data handling policies and conducting employee security awareness training to classifying data based on its sensitivity and ensuring physical security measures like secure access to buildings and server rooms. Their goal is to create a secure environment for information to exist and be used, covering physical, administrative, and technical controls. What is Cybersecurity? The Digital Frontier If InfoSec is the broad umbrella, cybersecurity is a large and critical component underneath it. Cybersecurity is a specialized subset of Information Security that focuses exclusively on protecting digital assets. Its domain includes everything connected to the internet and cyberspace: computer systems, networks, programs, mobile devices, and data that is stored electronically or in transit between digital systems. The core mission of cybersecurity is to defend these digital assets against malicious attacks, often referred to as cyber threats. Cybersecurity is the practice of applying technologies, processes, and controls to protect systems and data from cyberattacks. These attacks are designed to access, alter, delete, destroy, or extort an organization's or user's systems and sensitive data. Common examples of the threats cybersecurity professionals combat daily include malware (like ransomware and spyware), phishing scams, denial-of-service (DDoS) attacks that overwhelm networks, and sophisticated hacking attempts by malicious actors. In essence, while an InfoSec manager might be worried about an employee leaving a sensitive printed report on a public train, a cybersecurity expert is worried about that same report being exfiltrated from the company's network by a hacker located on the other side of the world. Cybersecurity professionals are the front-line soldiers in the digital war, employing technical tools like firewalls, intrusion detection systems, antivirus software, and encryption to build and maintain a fortified digital perimeter. They are the tactical implementers of the broader strategic goals set by the InfoSec framework. The Core Differences: A Head-to-Head Comparison While the two fields share the ultimate goal of protecting assets, their approach, scope, and day-to-day focus differ significantly. Understanding these nuances is key for assigning the right responsibilities and hiring the right talent. It clarifies that defending against a phishing email (cybersecurity) and creating a policy for shredding documents (information security) are both part of a single, unified security posture. The main point of divergence is scope. InfoSec is an all-encompassing strategy for information in any form, making it a business and risk management function as much as a technical one. Cybersecurity, on the other hand, is laser-focused on the technical challenges of defending the digital realm. It is the practical, hands-on application of defensive and offensive measures within cyberspace. To better visualize these distinctions, let's break them down into specific areas. Scope and Domain The most fundamental difference lies in their scope. Information Security has a much broader scope, covering all aspects of information protection. It is format-agnostic, meaning it applies to digital data (files, databases), physical data (paper documents, binders), and even intellectual property (patents, trade secrets, verbally communicated information). InfoSec governance involves establishing a security framework that addresses people, processes, and technology across the entire organization. In contrast, Cybersecurity has a narrower, more specialized scope. Its domain is exclusively cyberspace. It deals with the protection of electronic systems, networks, and data from digital threats. A cybersecurity professional's world is one of bits and bytes, network packets, source code vulnerabilities, and server configurations. They are not typically concerned with the security of a physical filing cabinet unless that cabinet contains keys or passwords that could grant digital access. Therefore, all cybersecurity is a form of information security, but not all information security is cybersecurity. Focus of Protection This difference in scope naturally leads to a difference in focus. The primary focus of InfoSec is the information itself. The central question for an InfoSec professional is, “How do we ensure this piece of information remains confidential, trustworthy, and available throughout its lifecycle?” This leads them to consider a wide range of controls, from drafting acceptable use policies and performing risk assessments to implementing data classification schemes and managing employee access rights (a principle known as least privilege). Cybersecurity, however, focuses on protecting the systems and networks where digital information resides. The central question for a cybersecurity expert is,

Your Guide to Cybersecurity Career Paths for Beginners
In an increasingly digital world, the importance of protecting our data, systems, and networks has never been more critical. From personal banking information to national security secrets, everything is online and vulnerable. This has created a massive, and rapidly growing, demand for skilled professionals to defend against a relentless wave of cyber threats. For those looking to enter a dynamic, challenging, and rewarding field, exploring the various cybersecurity career paths for beginners is the first step toward a future-proof profession. This guide is designed to be your comprehensive map, illuminating the foundational skills, entry-level roles, and strategic steps you need to take to launch a successful career in cybersecurity. Why Cybersecurity is a Booming and Essential Field The digital landscape is in a constant state of evolution, and with every technological advancement comes new vulnerabilities. Cybercriminals, hacktivists, and state-sponsored actors are becoming more sophisticated, launching attacks that can cripple businesses, compromise personal privacy, and even disrupt critical infrastructure. This escalating threat level is the primary driver behind the explosive growth of the cybersecurity industry. Companies and governments are no longer asking if they will be attacked, but when, and they are desperately seeking qualified individuals to build and maintain their defenses. The demand for cybersecurity talent far outstrips the current supply, creating what is known as a significant "skills gap." According to research from organizations like (ISC)², the global cybersecurity workforce needs to grow by millions to adequately defend critical assets. This imbalance creates a massive opportunity for newcomers. It means more job openings, higher starting salaries, and greater job security compared to many other industries. For anyone with a knack for problem-solving and a desire to make a tangible impact, the field is wide open and welcoming. This high demand translates directly into financial incentives and long-term career viability. Cybersecurity is not a fleeting trend; it is a fundamental necessity of the modern world. As long as we use computers, phones, and the internet, the need to secure them will exist. This makes a career in cybersecurity one of the most stable and future-proof choices you can make. The profession offers a clear trajectory for growth, from entry-level analyst roles to executive positions like a Chief Information Security Officer (CISO), with compensation scaling significantly with experience and specialization. Foundational Skills Every Aspiring Cybersecurity Professional Needs Before diving into specific job roles, it's crucial to understand the foundational knowledge that underpins the entire field. Contrary to popular belief, cybersecurity isn't just about "hacking" in a dark room. It's a multidisciplinary field that requires a blend of technical expertise, analytical thinking, and strong communication skills. These core competencies are the bedrock upon which you will build your specialized career path, regardless of the specific role you pursue. While technical skills are non-negotiable, one should never underestimate the power of soft skills. Cybersecurity professionals must be excellent problem-solvers, capable of thinking critically and creatively under pressure. Attention to detail is paramount, as a single misconfigured setting or overlooked log entry can lead to a catastrophic breach. Furthermore, you must be a clear and effective communicator. You will need to explain complex technical issues to non-technical stakeholders, write detailed incident reports, and collaborate effectively with a team. A strong sense of ethics and a continuous desire to learn are also essential personality traits for success. On the technical side, a few key areas form the essential toolkit for any beginner. These aren't just abstract concepts; they are the practical skills you will use daily. Mastering these fundamentals will not only make you a more effective professional but will also make it significantly easier to learn more advanced, specialized topics later in your career. They are the language of cybersecurity, and fluency is a prerequisite for entry. Networking Fundamentals Understanding how computers and systems communicate is arguably the single most important foundational skill in cybersecurity. If you don't know how a network is supposed to work, you can't possibly identify when it's behaving abnormally or under attack. This involves a deep understanding of concepts like the TCP/IP model, DNS (Domain Name System), DHCP (Dynamic Host Configuration Protocol), and how routers, switches, and firewalls function to direct and filter traffic. To a security professional, a network isn't just a way to access the internet; it's a battleground. You need to be able to analyze network packets to identify malicious activity, understand subnetting to properly segment and isolate critical systems, and configure firewalls to block unauthorized access. Certifications like the CompTIA Network+ are an excellent starting point for building and validating this essential knowledge. Without a strong networking foundation, you'll be navigating the world of cybersecurity with a blindfold on. Operating System (OS) Knowledge Every cyberattack ultimately targets a device running an operating system.Therefore, having a solid grasp of the world's most common operating systems—Windows, Linux, and macOS—is not optional. This goes far beyond being a casual user. You need to understand the file systems, user permission models, command-line interfaces, and a process for "hardening" these systems to reduce their attack surface. Hardening involves disabling unnecessary services, implementing strong password policies, and configuring security settings to their most secure state. For many security roles, Linux is particularly vital. A vast number of security tools, web servers, and cloud infrastructure run on Linux. Proficiency with the command line in a Linux environment (like using Bash for scripting) is a highly sought-after skill. It allows you to automate tasks, analyze logs efficiently, and run a wide array of open-source security tools that are the industry standard. Whether you are a security analyst or a penetration tester, you will spend a significant amount of time working within these operating systems. Basic Programming and Scripting While you don't need to be a full-fledged software developer to enter cybersecurity, having basic programming and scripting skills is a massive advantage. Scripting allows you to automate repetitive tasks, which is a lifesaver when you need to analyze thousands of log files or scan hundreds of devices. It also enables you to create