Learn how to connect to iPhone with VPN on! This guide covers manual setup, VPN apps, and Always-On VPN with step-by-step instructions.
Did you know that using a VPN on your iPhone can unlock better privacy, access to global content, and enhanced security for your online activities?
But figuring out how to connect to iPhone with VPN on might feel overwhelming if you’re not tech-savvy. Don’t worry—this guide has got you covered.
Imagine being able to safely browse on public Wi-Fi, access geo-restricted streaming content, or protect your personal data on the go.
Whether you’re setting up a VPN manually, through an app, or enabling Always-On VPN for continuous protection, this article will show you step-by-step how to connect to iPhone with VPN on without any hassle.
Let’s dive into everything you need to know about configuring a VPN on your iPhone like a pro.
Table of Contents
ToggleHow to Connect to iPhone with VPN On
Using a VPN on your iPhone is easier than you think. Here’s a detailed guide that breaks down the process into three methods: manual setup, VPN apps, and Always-On VPN.
1. Using Built-in VPN Configuration (Manual Setup)
The manual setup option is perfect for those who already have VPN credentials from their provider and want to configure the connection directly in their iPhone settings.
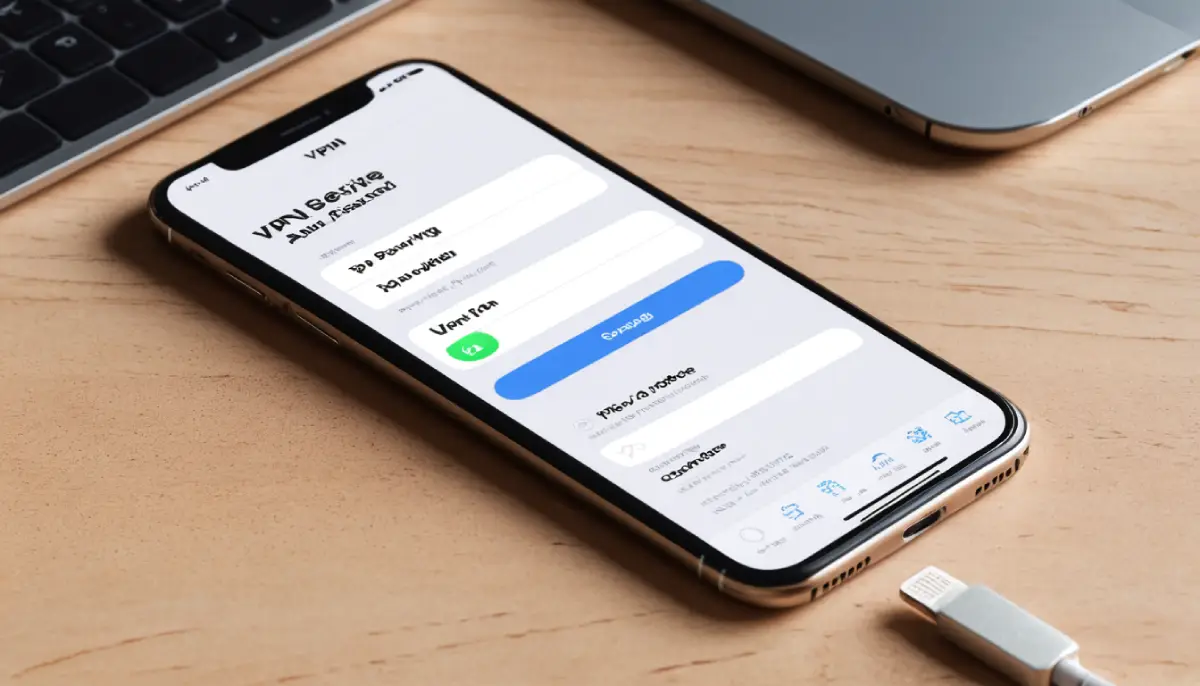
Step 1: Access VPN Settings
- Open the Settings app on your iPhone.
- Scroll down and select General.
- Tap on VPN & Device Management.
Step 2: Add VPN Configuration
- Tap on Add VPN Configuration.
- Choose the VPN protocol your provider supports—commonly IKEv2, IPSec, or L2TP.
- Fill in the following fields:
- Server: Enter the server address provided by your VPN service.
- Account: Input your VPN account username.
- Password: Type your account password.
- Optional: Enter Shared Secret or Certificate details if required.
Step 3: Enable VPN
- Save your configuration.
- Toggle the VPN switch to turn it on.
- Verify the connection by checking for the VPN icon in your iPhone’s status bar.
2. Using a VPN App
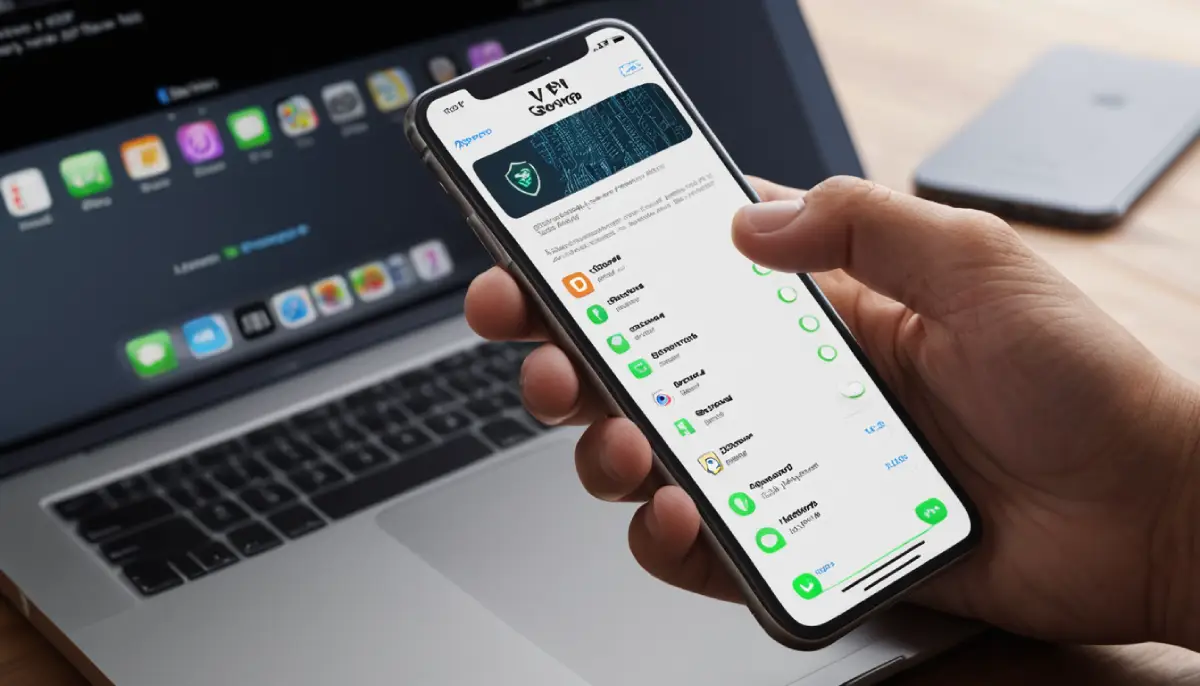
VPN apps make connecting to a VPN incredibly easy, even for beginners. Many popular providers like NordVPN, ExpressVPN, and Surfshark have user-friendly apps designed for iPhones.
Step 1: Download the VPN App
- Visit the App Store on your iPhone.
- Search for your preferred VPN provider (e.g., NordVPN).
- Download and install the app.
Step 2: Set Up the App
- Open the app and log in with your VPN account credentials.
- Grant the app permission to configure VPN settings.
Step 3: Connect to a Server
- Choose a server location from the app’s interface.
- Tap Connect.
- Once connected, a VPN icon will appear in the status bar, indicating your connection is active.
3. Automatic VPN (Always-On VPN)
Always-On VPN ensures your iPhone is always connected to the VPN, even when switching between networks. This feature is particularly beneficial for maximum security.
Step 1: Configure Always-On VPN
- Open Settings > General > VPN & Device Management.
- Select your manually configured VPN or a VPN app.
Step 2: Enable Always-On VPN
- In the VPN settings, toggle the Always-On VPN option (available for specific protocols like IKEv2).
- This ensures the VPN reconnects automatically if the connection drops.
Step 3: Verify Connection Stability
- Regularly check the VPN icon in your status bar.
- Test connectivity by visiting websites restricted in your region to ensure the VPN is working seamlessly.
Why Use a VPN on iPhone?
In today’s digital age, your iPhone is more than just a phone—it’s a gateway to sensitive personal information, online transactions, and endless streams of content.
Using a VPN on your iPhone isn’t just a luxury; it’s a necessity for those who value privacy, security, and freedom online. Here’s why VPNs are essential:
1. Enhanced Privacy
When you browse the internet without a VPN, your online activities are visible to your Internet Service Provider (ISP), websites, and even third parties. A VPN creates an encrypted tunnel for your data, ensuring that everything you do online remains private.
- Protection from Prying Eyes: VPNs mask your IP address, making it difficult for anyone to track your location or browsing habits.
- Secure Transactions: Whether you’re banking or shopping online, VPN encryption prevents sensitive information like credit card numbers from being intercepted.
- No Logs Policy: Premium VPNs often follow a no-logs policy, meaning your activity isn’t recorded or stored anywhere.
2. Secure Browsing
Public Wi-Fi networks in cafes, airports, and hotels are notorious for being hotspots for hackers. Without a VPN, connecting to these networks leaves you vulnerable to cyberattacks.
- Encryption Against Attacks: VPNs encrypt your connection, preventing hackers from accessing your data through unsecured networks.
- Prevent Identity Theft: A VPN protects sensitive information like login credentials and personal details from being stolen.
- Peace of Mind While Traveling: Whether you’re abroad or simply out and about, you can use public Wi-Fi safely with a VPN.
3. Access Global Content
Ever tried to watch your favorite show on Netflix or access a website only to find it’s blocked in your region? A VPN solves this problem by letting you choose a server location in another country.
- Unlock Streaming Platforms: Enjoy content from Netflix, Hulu, Disney+, and more, no matter where you are.
- Bypass Censorship: In some countries, certain websites and apps are restricted. A VPN allows you to regain access.
- Unrestricted Gaming: Play games or access game servers not available in your region.
Conclusion
Connecting to a VPN on your iPhone is no longer a complicated process. Whether you prefer a manual setup, an easy-to-use app, or the added security of Always-On VPN, this guide covers every method to keep your online activities secure and private.
For more tips and detailed guides, visit vpnpieces.com, your trusted source for all things VPN. Explore their expert recommendations to enhance your browsing experience today!

